Yards and gardens produce bags of grass clippings, mounds of leaves, and buckets of spent flower blooms. Turn this organic garbage into a usable product for the landscape.
Think of composting as a form of garden recycling, but without many gardening tools needed. The process can turn organic garbage into wonderful soil that can go back into the garden or yard. Here are some tips for building a backyard compost pile.
Benefits of Using Compost
- Reduces yard waste
- Enriches soil with nutrients such as potassium, nitrogen and phosphorus
- Introduces good bacteria and microorganisms to the soil
- Helps soil retain moisture
- Balanced soil pH
- Reduces Methane emissions which lowers the carbon footprint
How to Make Your Own Compost
Gathering Materials for Composting
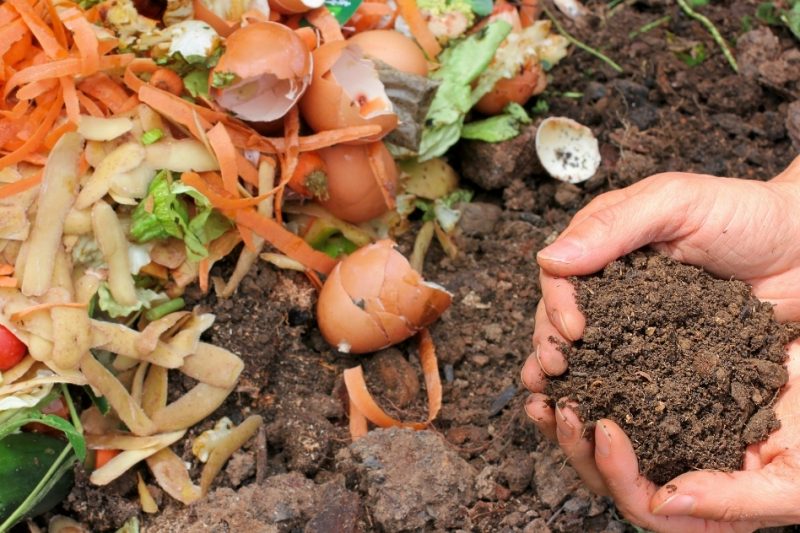
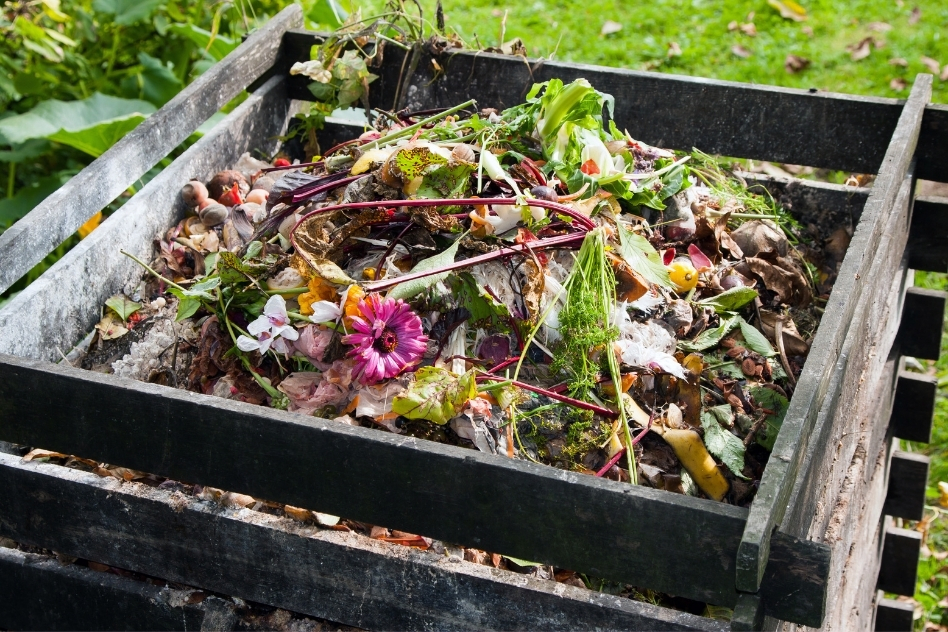
First, create an 8-inch layer of a good mixture of small-sized organic materials. Items such as grass clippings, leaves, old mulch or straw, dead plants, spent flower blooms, twigs, sawdust, and fruit and vegetable scraps are ideal candidates for composting.
Avoid composting dairy products or leftover meat which will attract flies or rats. Also, avoid composting pet waste that may contain parasites or pathogens.
Next, add a 1-inch layer of garden soil to the organic materials. Sprinkle one cup of 10-10-10 or 6-10-4 fertilizer on top. Repeat this procedure, layering organic materials, soil and fertilizer again, then sprinkle the mixture with water so that the compost pile becomes moist but not soggy. To speed up the decomposition process, keep the compost pile moist.
How to Keep Compost Aerated
Oxygen is essential for proper decomposition, so every week or two, turn the compost pile inside out. Aerating makes the compost pile decompose much faster than one that is turned less often.
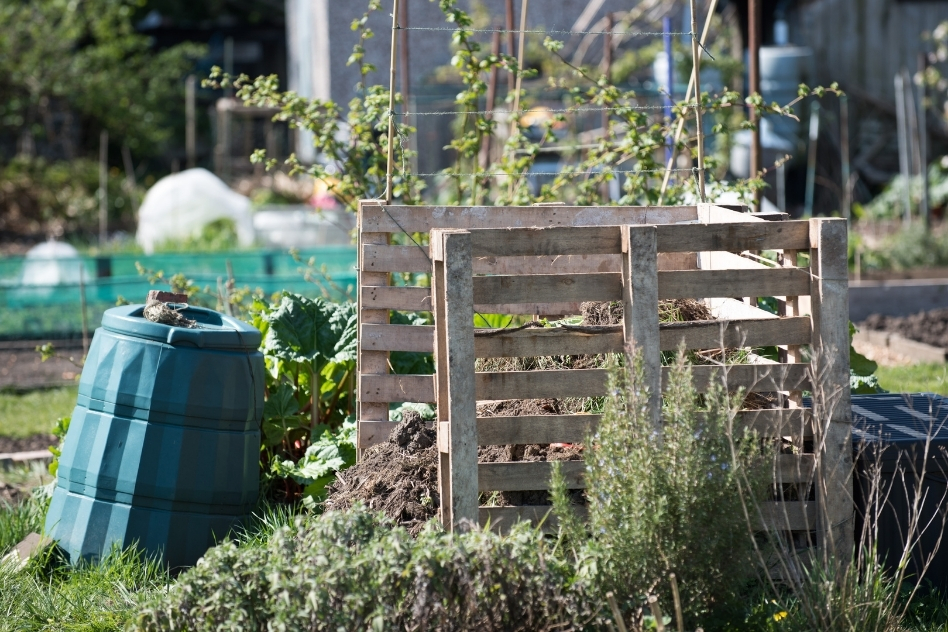
If your compost bin is a simple 3-sided wire or wooden enclosure, you can use a pitchfork to turn the mixture. Or, to make aerating easier, use a commercial composting system like a barrel compost bin or compost tumbler.
Using a Compost Tumbler: Pros and Cons
With a compost tumbler, you’ll use the same mixture of materials, soil, and fertilizer, but you won’t need to add the items in layers. Add a little water and close the door to the tumbler. Openings in the barrel allow air to mix with the organic materials located inside. Give the barrel a turn or two to stir up the ingredients.
Once the tumbler is half full of leaves and other organic matter, don’t add any fresh materials to it. Adding more materials will only slow down the decomposition process.
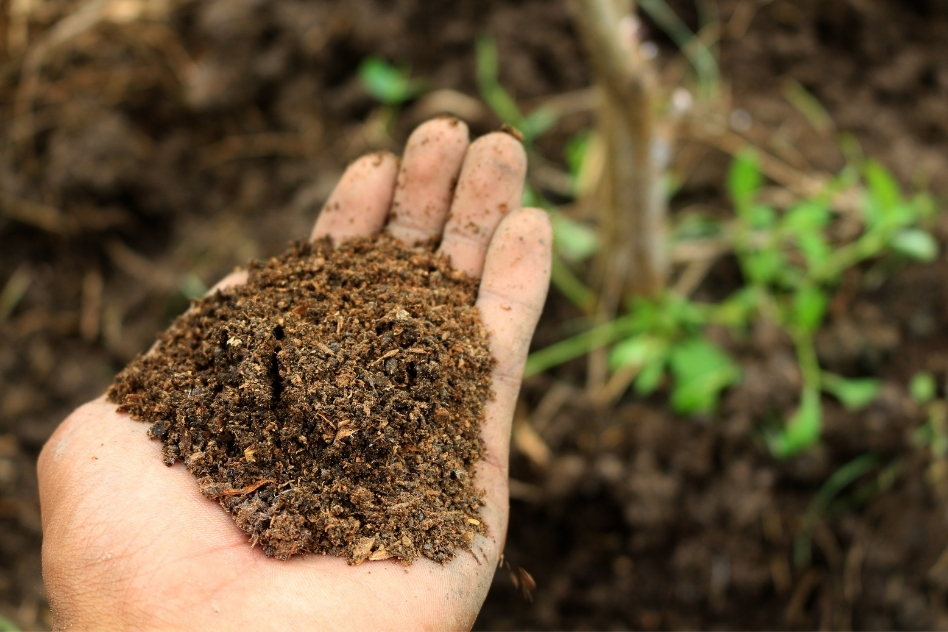
It’s best to make compost in batches. This ensures that you’ll have only enough compost that you need and can use at one time. When the decomposition is complete, you won’t recognize the ingredients that you originally added. They will have turned into loose, crumbly soil.
Compost has many uses in the garden. It adds nutrients to the soil, making it a great soil amendment for nutrient-starved soil. It can also be used as a top dressing for a garden bed.
No matter how compost is used, it’s a great organic material that the home gardener can make using organic garbage scraps.
Here are a few good composters to choose from:
- Rolling Composter Tumber
- Block Composter
- Dual Chamber Composter with chambers that can be turned separately
- Dual Chamber Composter with Thermometer and Deeper Grooves for Rotation
I have to be honest with you guys though – I’ve been doing composting my entire life and never had a tumbler. When I was a little girl we just created a simple compost area in the corner of the garden. But, if you want convenience and have some funds then why not try it?.
How to Know if the Compost is Ready
The compost is ready when it doesn’t look like it started out at all. It should look like rich and dark earthy soil. If you can see pieces of leaves, twigs, or scraps still in the compost mixture, it’s not ready to use.
You can do a simple test to see if the compost is ready for use. Grab a handful of compost and put it in a Ziploc bag. Press all the air out of the bag and seal it. Leave this bag alone for 4 to 5 days and then open the bag.
After 4 to 5 days, when you open the bag, if you get a sour odor, the compost is still immature. Continue composting for another week and then test the compost in a Ziploc bag again. This time, if there’s no odor, it’s ready for use. If there’s still some odor, repeat the process in another week.
How to Use Compost in the Garden
Compost can be used in various ways in the garden. Here are a few.
- Add a handful of compost to potted fruits, flowers, and veggies while planting. And every 4 to 6 months after that.
- For plants like squash and tomatoes that require a lot of nutrients, add an inch or two of compost every month.
To amend soil, mix in about 2 to 3 inches of compost with the top few inches of soil. - Add a layer of compost as mulch to the soil to prevent weeding.
- Or add a layer of compost to topsoil to prevent freezing in fall.
- You can add unfinished compost to soil in fall so that it continues decomposing in the winter and the soil is nutrient ready for spring.
- Mix compost with perlite and add it to the garden to increase areation and prevent compacting.
- Treat thinning areas or bald spots on lawns by raking the area, mixing compost with the soil and adding new seeds in.
- Want to give your trees compost? Dig small holes about a foot to a foot and a half deep around them. Fill them compost and cover them.
- Roses! A favorite plant with many! They love compost. Mix in twice as much compost as the soil and they’ll thrive.
The main thing to remember is that the more liberally you use the compost, the more your garden will thank you for it!
Adding compost to your home garden is the perfect use of waste material. Naturally free of fertilizers and chemicals, compost is a great soil amendment that slowly releases macronutrients. It also increases the proportions of earthworms and good microorganisms in the soil which prevent attacks by pests. No wonder compost is called black gold!


Leave a reply