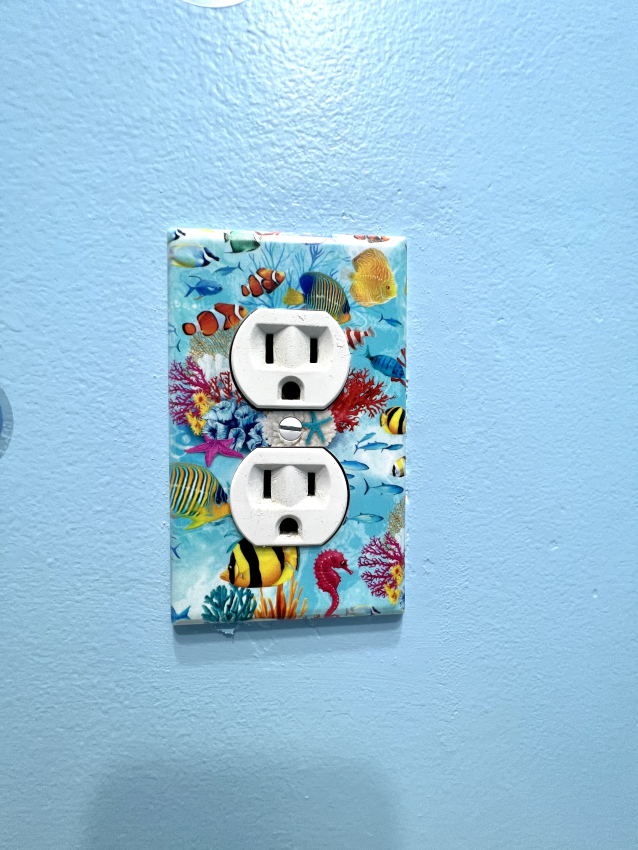
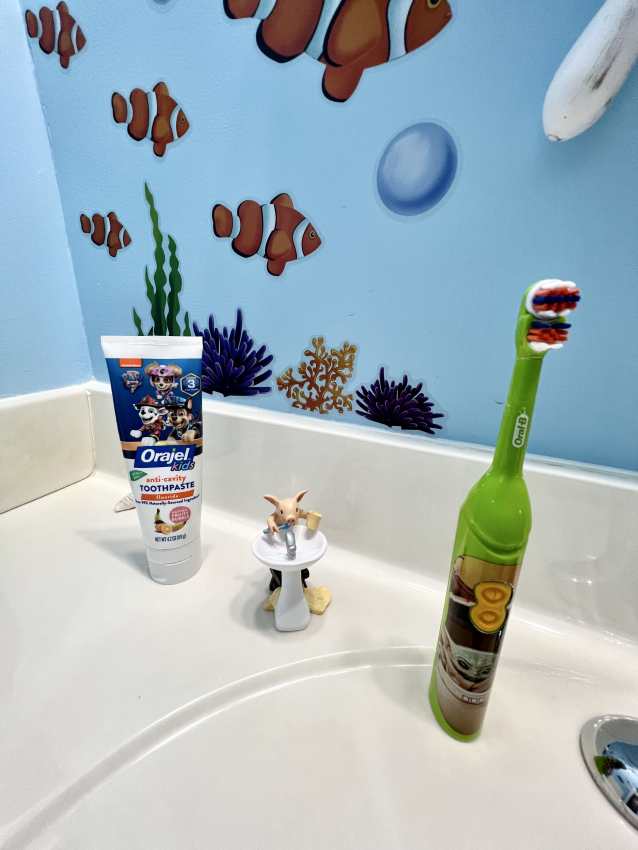
When we moved to the new house my kids were obsessed with marine life, so I knew that their bathroom would be somehow themed under the sea. One more time, I embarked on a journey of doing DIY kids bathroom remodel.
The bathroom was an absolute disaster before and hasn’t been remodeled since 1993. For the flooring I hired a specialist, because putting a vinyl plank isn’t an easy job. Everything else can be done on your own.
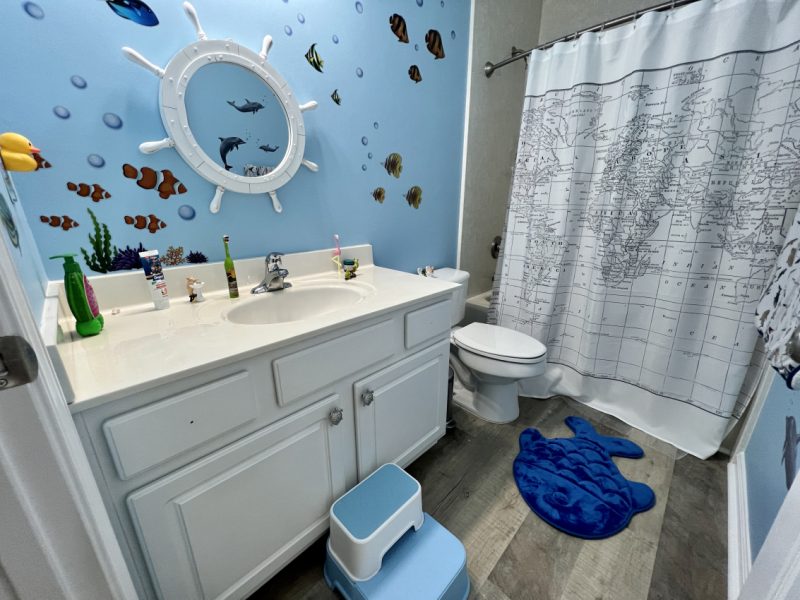
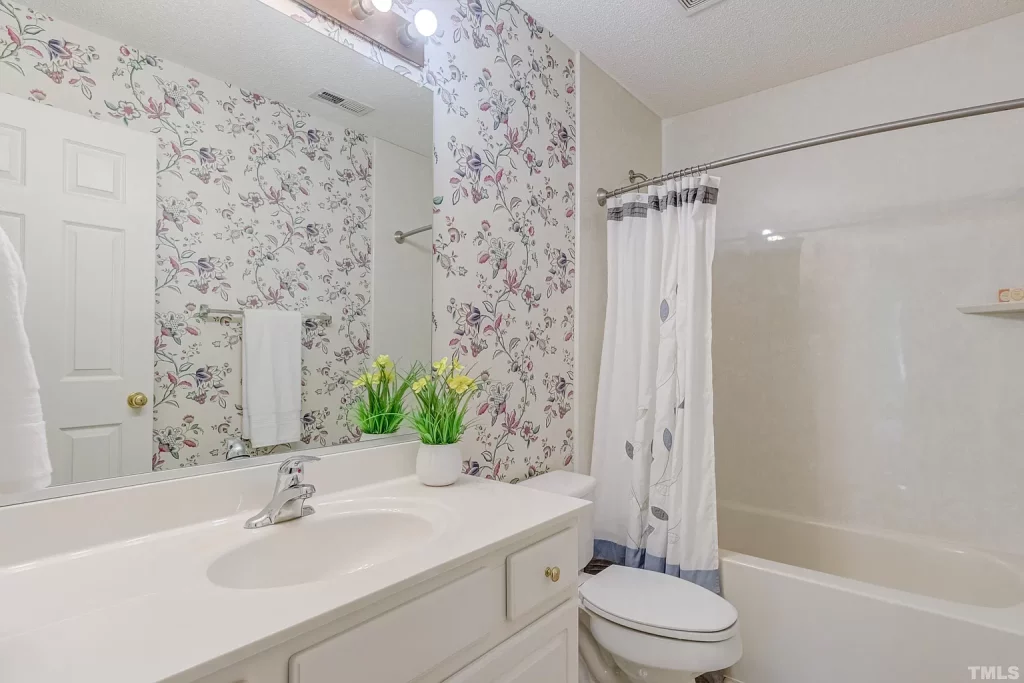
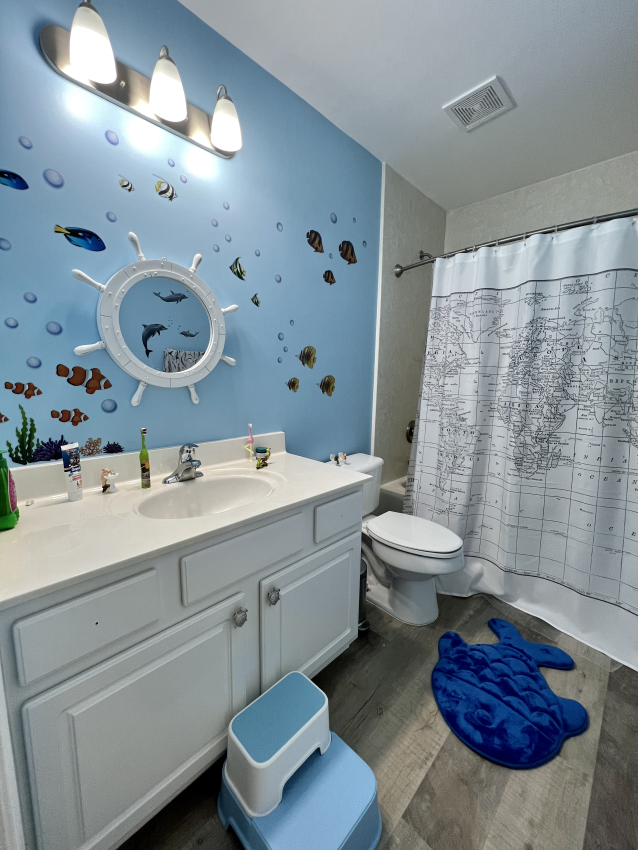
Before & After Photos:
What Do You Need:
Because the walls have been covered with wallpaper:
- scraper knife – to scrape it off
- sponge – to wash the walls
- sander – to prepare the wall
- oil-based primer – to repair the wall (I used the same primer for the outdoor playhouse remodel)
- putty knife & putty – if you need to fill some holes or smooth the wall
If there was no wallpaper, only this:
For this bathroom, I used Sherwin Williams interior flat paint – Bluebell color & standard white in gloss for cabinets.
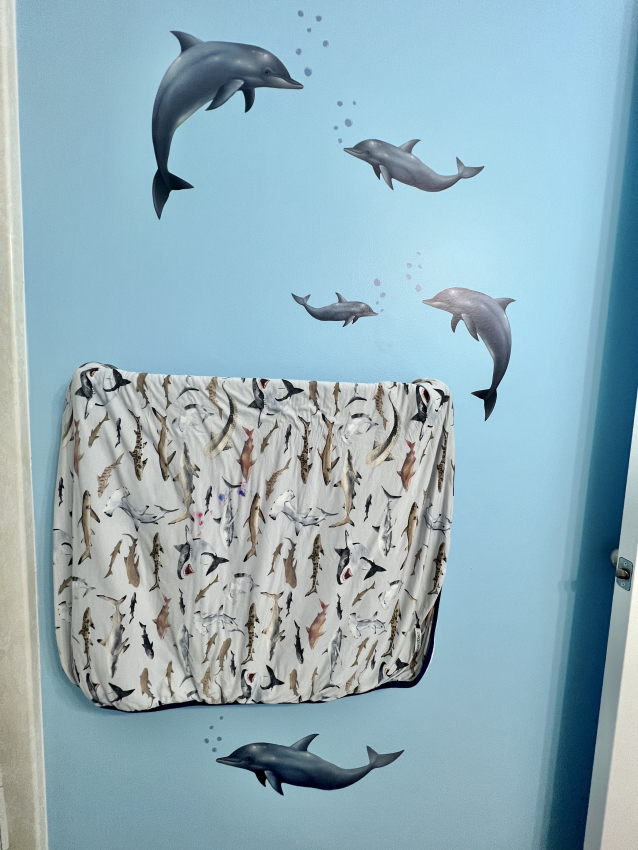
Under the Sea Bathroom Decor Elements:
The whole remodel, not including the floor which was about $750 cost about $300 and took 3 full days of work considering drying times.


Leave a reply