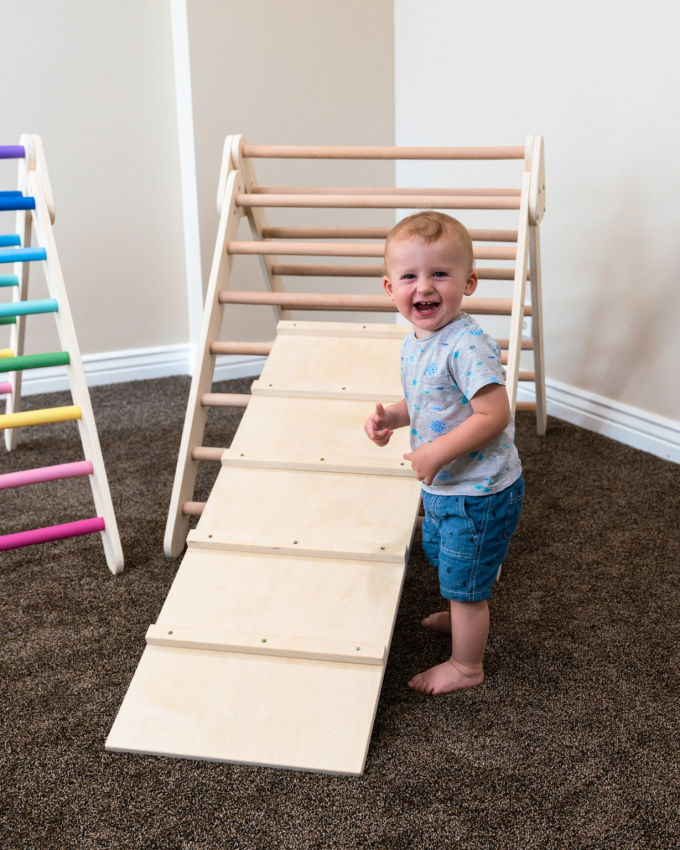
Many parents want to build their own pikler triangle after seeing how much do they cost. I get it, I was the same way when I first found out about this climbing triangle.
In fact, I was selling pikler triangles for a while, so I learned everything there is about making your own DIY pikler triangle. Simply because I put together and painted a LOT of them.
If you don’t feel like building a pikler triangle you can easily buy it as well. Check out my other post to find out where to buy a pikler triangle.
How Much Does it Cost to Build a Pikler Triangle?
Is building a pikler triangle cheaper than buying it off Etsy? It really depends.
It will cost you about $100-120 for dowels, screws and wood, but unless you have woodworking tools, you would have to purchase them as well.
To make a pikler triangle you need a Forstner bit to do the holes (technically, you can do it without the holes to rest the dowels on, but it’s more stable with them), drill, sander and long clamps. On top of the obvious: the saw 🙂
What type of wood do you need to use to build a pikler triangle?
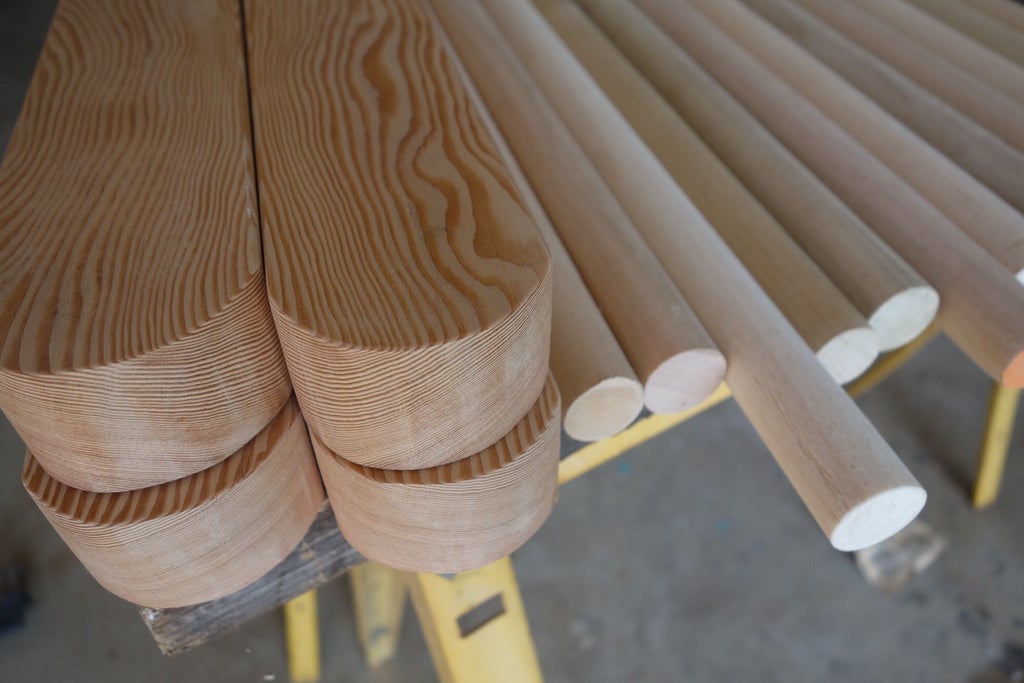
The price also depends on the type of wood you chose to use. If you plan on making a pikler out of pine wood from Home Depot you’re setting yourself for failure immediately.
I suggest you use birch, oak or maple – depending on the availability.
Can you make a pikler triangle out of plywood?
Yes, mostly. Your dowels obviously won’t be made of plywood, but the side legs, small triangles and ramp can be made of plywood for sure.
There’s no simple answer to whether it’s better to make your pikler from solid wood or plywood. Not all solid wood is stronger than plywood, especially in terms of stiffness, and vice versa. Both are good strong building materials in their own right.
How to Build a Pikler Triangle?
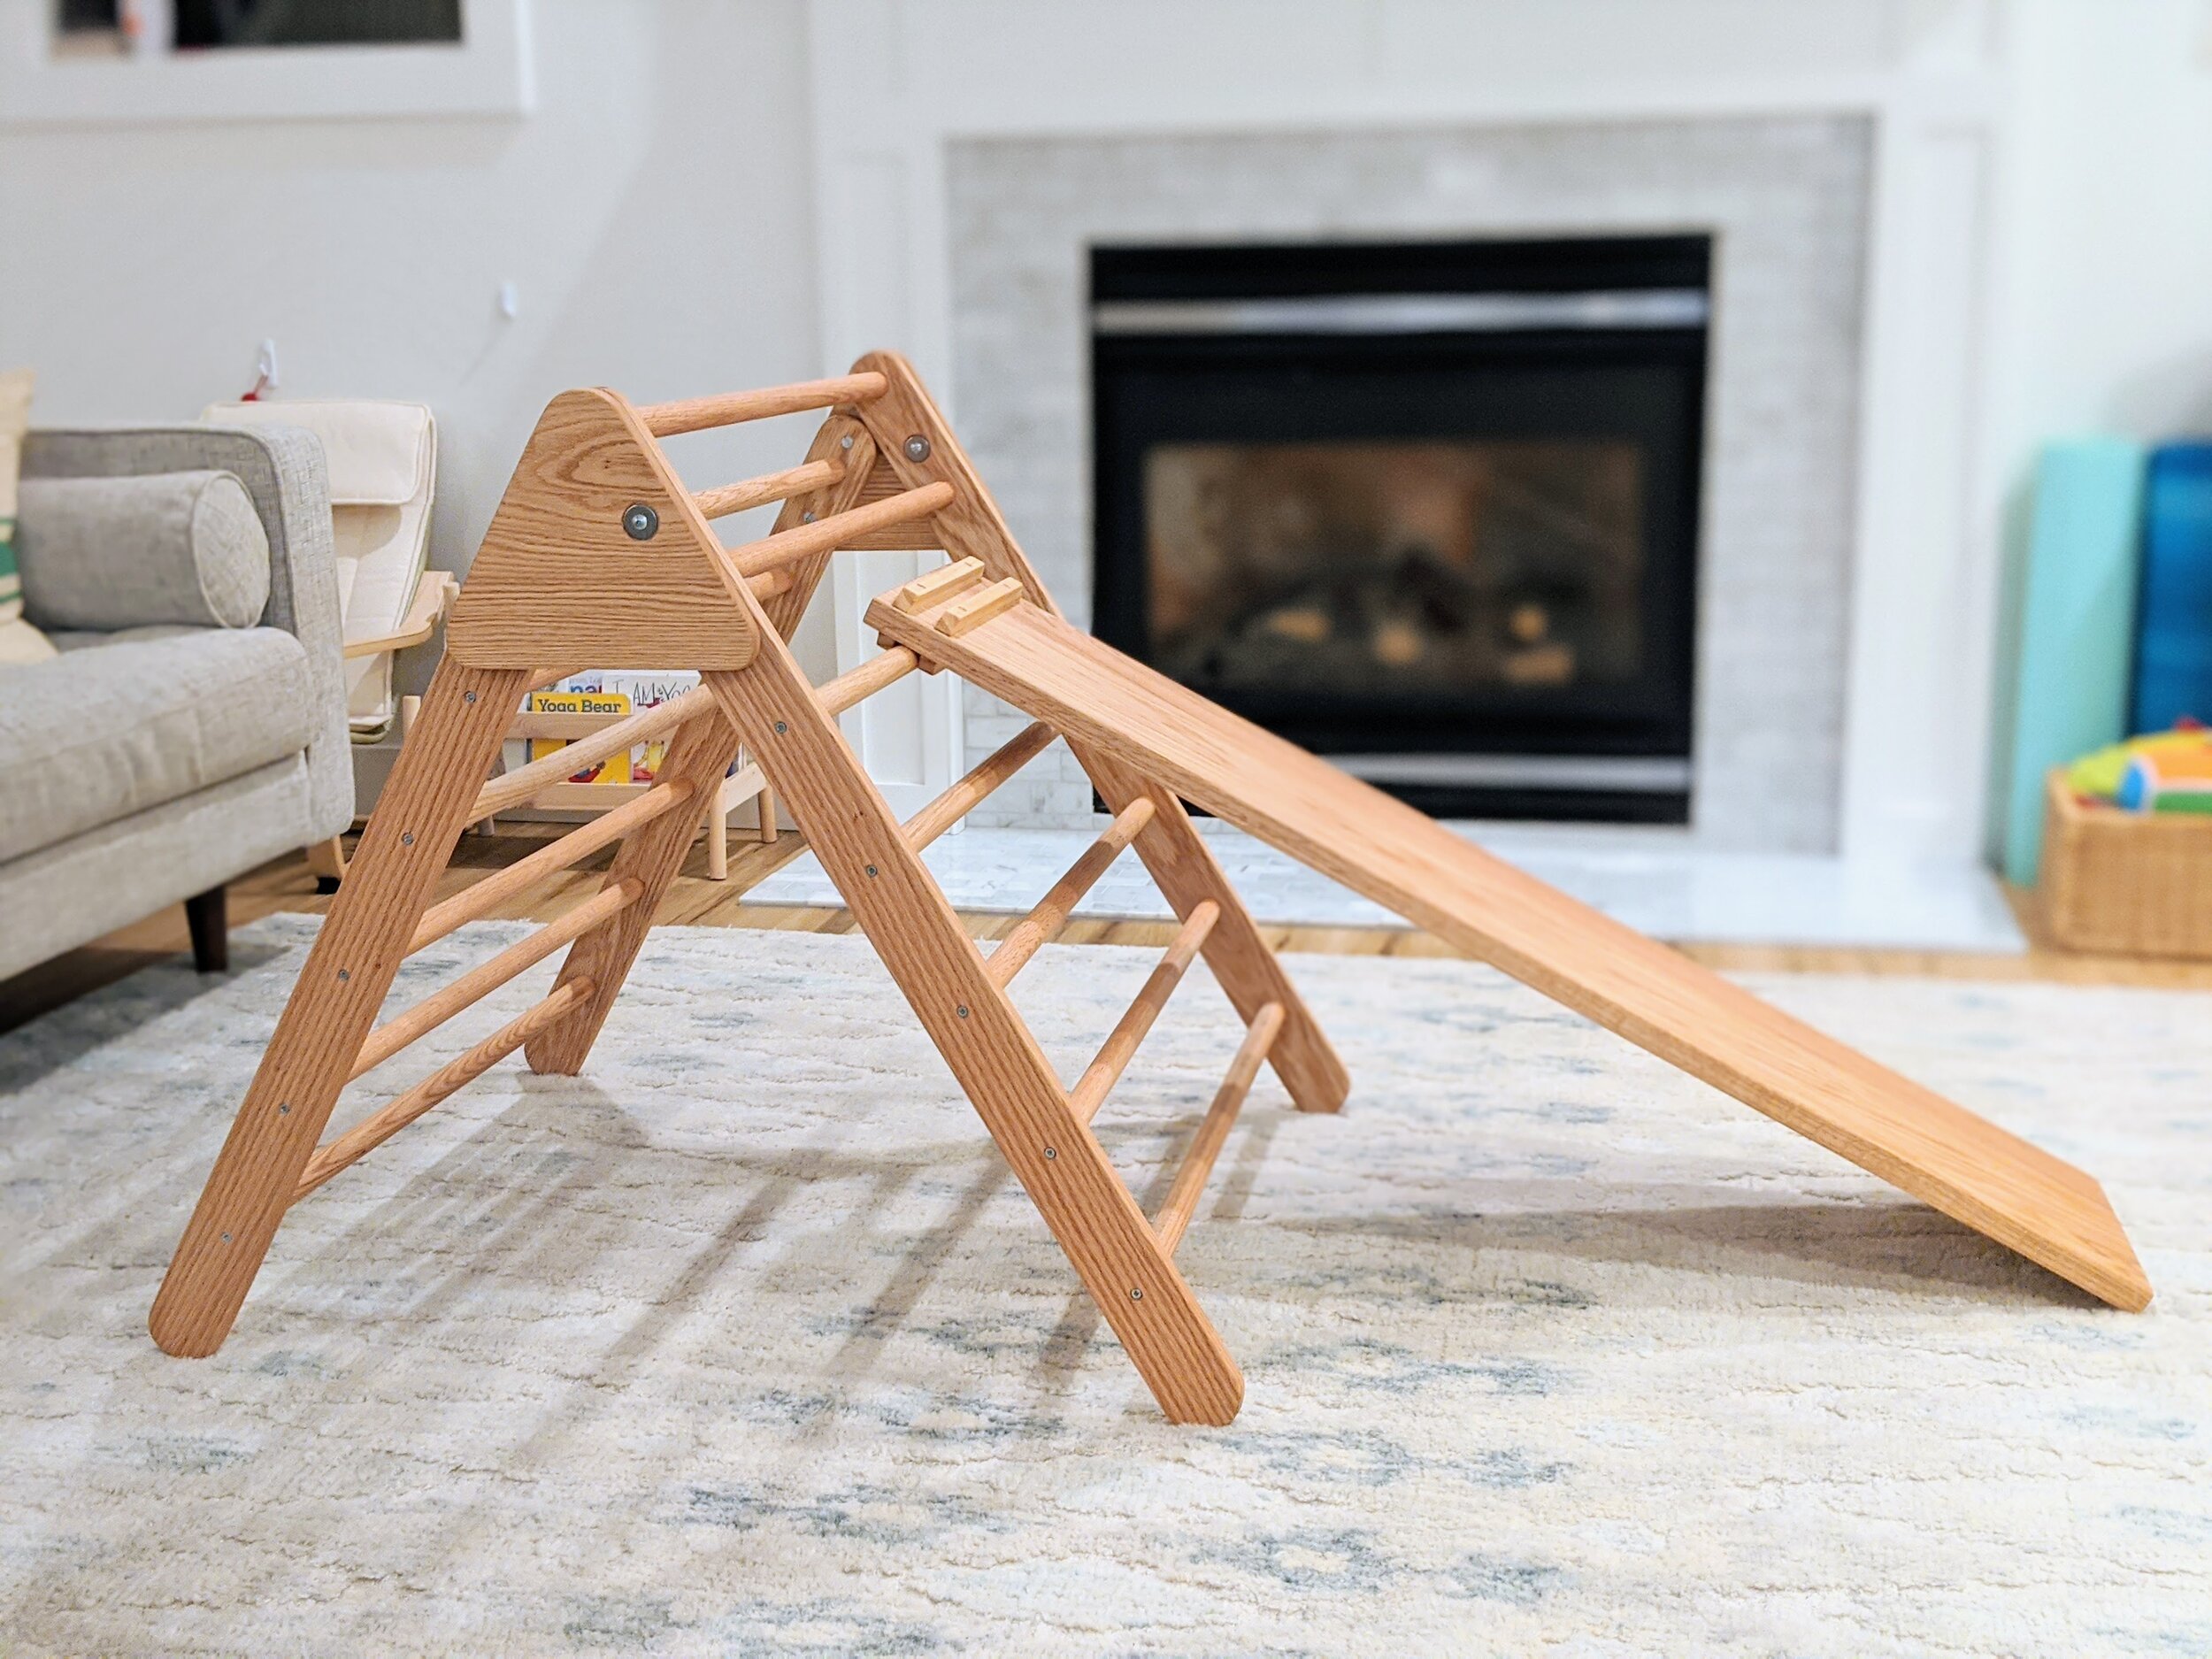
While everything can easily be bought, you could also build it yourself. Its construction is simple, so even with little woodworking experience it can be done.
Although it might take you a few tries and good couple of hours.
The best plans for DIY pikler triangles is this one & that one (disregard the cost estimate, it’s more $$ these days).
Things to Consider Before Building a Climbing Triangle
- Safety:
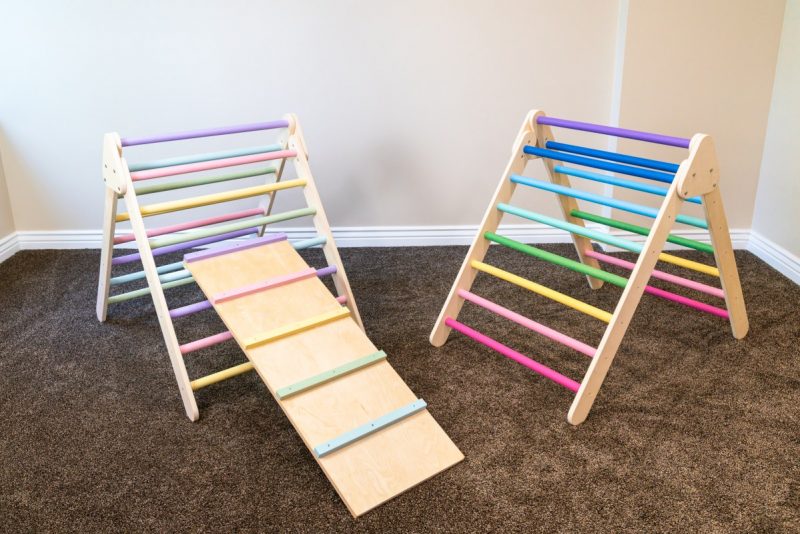
Pay attention to the spacing between the dowels and make sure it’s not more than 3.5″. Lots of plans don’t pay attention to it and I even saw some fellow Etsy sellers offering pikler triangles with large gaps between dowels.
If spaces are larger than 3.5″ then the kid can easily fall through and hurt himself pretty badly.
- Indoor Space
Pikler triangles are not meant to be put outside. Even when sealed I wouldn’t recommend leaving it outside for extended periods of time.
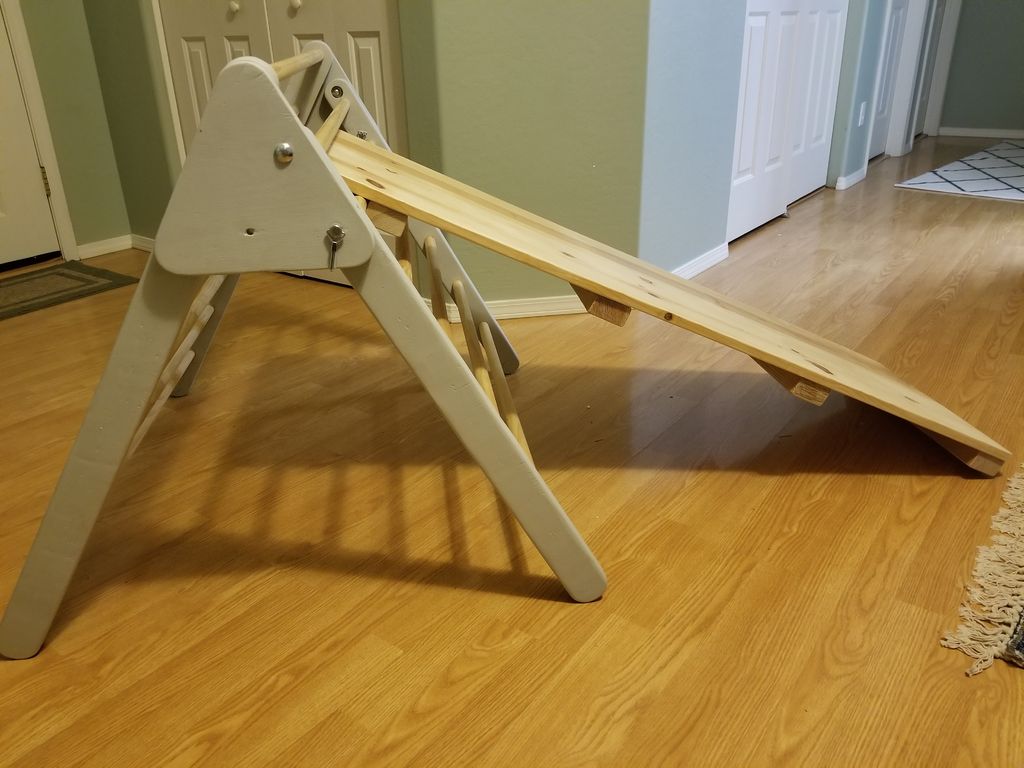
As an indoor toy, you need to consider your house space for a pikler triangle because it’s not a small toy. Making a foldable triangle requires more tools and time, but then you can easily fold it and store it behind the door. Otherwise, it will take up a ton of space.
How to Seal a Pikler Triangle?
If you’re building yourself, you may wonder how to seal a pikler triangle? Even if you buy it ready to go, many manufacturers sell it unfinished.
Do you need to seal the triangle? Simple answer: no, unless it will stay outdoors all the time. Many people prefer to have wooden toys unfinished, including myself.
But, if you’re worried about your triangle and insist on sealing it, there are a few options:
- eco-varnish like Polyclear
- beeswax (technically not a sealer, it’s a conditioner, but enough to make it work)
- 50:50 wax & coconut oil (again, technically just a conditioner)
When it comes to paint or sealer being non-toxic it’s a bit of a tricky situation. Non-toxic where and to what extent are we talking about?
Regulations are different in different countries and even for different states (especially in California). There’s also the case if we’re talking for mouthing or just overall, because to be perfectly honest, no paint is PERFECTLY safe for mouthing in the long run.
Many toys/paints that have the certificate in the EU wouldn’t qualify in some states and vice-versa, and many producers have the safety certificate but if the paint was tested in China (which is the case with most, also with other child gear like baby carriers) it’s a different standard.
That said, I’d be way more suspicious if the producer tells you straight up that it’s non-toxic without knowing the context.
I can personally vouch for FolkArt paint and Butcher’s Block sealer because this is what I use and I tested it for lead and other substances on top of what the manufacturer says, but again – if you test it in a very advanced lab it might not be the same case all over the world.
If you’re looking for a way to stain the dowels, make sure the paint you use is non-toxic because your kids might chew on it. I usually use watered-down acrylic FolkArt.
Another great option for a non-toxic paint is MilkPaint, but it will look less smooth than when you used regular acrylic.
Any other questions? Let me know in the comments below and I’ll get back to you ASAP.

Hi!! Just wondering if 1 1/4″ dowels would work instead of 1″ dowels? Are there regulations for safety against that or anything? It would also mean making the rails each 1.5″ longer than a standard pickler triangle. The tallest rails would end up being 37.5″.
Please help!!
Thanks
I just can’t find 1″ Dowels anywhere so I’m stuck with 1 1/4″ instead! Do I need to keep the rails at 2×4 or still rip it down to 2×3? Or do I rip it down to 2×3 1/4″ instead of 2×3? Are 2×4’s too wide for the rails?
There are no safety regulations for piklers (at least none in the US and Australia, not 100% sure about Europe) since they are not in any way tested for structural integrity or safety standards. The only regulations are for daycares that if there’s any climbing structure there has to be enough “crash space” around it depending on the height.
Don’t worry about the height being 37.5 – that’s not XXL, there are many 42″ and 47″ piklers out there that are widely popular. Longer dowels mean more stability – I’d be more worried about a high pikler that’s very narrow. Just pay attention to the spacing between the dowels and make sure it’s not more than 3.5″.
In terms of rails each pikler maker will have an opinion 😉 Are you doing the design with or without holes for dowels to sit in? If with holes, then it should be fine. I’d just make sure that if you’re buying 2×4 from a big store like HomeDepot or Lowes that it’s not pine, as they’re not the greatest quality.
Hi Anna,
Thanks for the info. I am looking at the plans you posted that you liked, but it looks they have the towels 5in apart… is that correct or am I reading that wrong? Thanks for your help!
I was just reading that. The plans she provided have a 4 inch gap between each dowel.
It clearly says, no more than 3.5 inches apart.
Why do you say you’re setting yourself up for failure to build one out of pine. I’m having a very hard time finding quality wood, but pine is always available. Thanks!
Pinewood at home depot is very soft and splits too easily.
Hello! Just wondering if you have a link the the butcher block sealer?
Yup: https://amzn.to/3pciV0l